A Closer Look At Epoxy Floor Coating Surface Preparation Process
The epoxy floor coating surface preparation process is a key step in ensuring that your concrete floor receives a durable, long-lasting coating. Without proper preparation, the coating may fail to adhere correctly, leading to early damage, peeling, or staining. If you are considering epoxy floor coating for your garage, basement, or commercial space, understanding how to prep concrete floor for epoxy and how long concrete should cure before applying the coating is essential for achieving optimal results.
In this post, we will walk you through the detailed steps of preparing your concrete surface before the application of epoxy flooring, ensuring that your new floor will be as durable and appealing as possible.
Why Surface Preparation Matters
The epoxy floor coating surface preparation is one of the most important steps in achieving a professional, durable finish from concrete coating installation. Concrete is a porous material that naturally absorbs water, oils, and dirt. If the surface is not properly cleaned, prepped, and leveled, the epoxy may not bond correctly. This can lead to the premature failure of the coating, which may cost more in repairs or reapplication. Proper surface preparation helps to ensure that the epoxy adheres well, lasts longer, and performs at its best under heavy use.
Step 1: How Long Should Concrete Cure Before an Epoxy Coating?
One of the first questions homeowners or business owners have when applying epoxy flooring is how long concrete should cure before an epoxy coating can be applied. Typically, new concrete should cure for at least 28 days before you apply an epoxy coating. This waiting period allows the concrete to reach its full strength and ensures that any moisture trapped inside the slab is fully evaporated.
If you apply epoxy too soon, the moisture can interfere with the adhesion of the coating, causing it to peel or bubble. It’s important to let the concrete cure properly to avoid these issues and to achieve the best bond with the epoxy. If you are working with older concrete, it may already be cured, but testing for moisture is still recommended to ensure a successful coating application.
Step 2: Cleaning the Concrete Surface
Cleaning is one of the most important parts of the epoxy floor coating surface preparation process. Before applying any type of coating, you need to ensure that the surface is free from dirt, debris, oil, grease, or any other contaminants that could affect adhesion. Concrete floors in garages or industrial spaces often accumulate oil stains or dirt, which must be removed thoroughly.
We recommend using a degreaser or heavy-duty cleaner to scrub the floor before applying any coating. Once the floor is clean, use a vacuum or broom to remove all loose dirt and debris. Be sure to clean the edges and corners of the floor, where dirt can accumulate more easily.
For tough spots like oil stains, you can use a concrete cleaner specifically designed to remove oil and grease. After cleaning, ensure the surface is dry before proceeding to the next step.
Step 3: Surface Profiling with Diamond Grinding or Shot Blasting
To achieve the best bond with your epoxy floor coating, the concrete surface must be properly profiled. Concrete floors are often too smooth for the coating to stick effectively, which is why diamond grinding or shot blasting is essential.
- Diamond Grinding
Diamond grinding is the most commonly used method for preparing concrete floors before applying epoxy. This process uses a specialized floor grinder fitted with diamond segments that grind the surface, creating micro scratches that help the epoxy adhere more effectively. Diamond grinding is ideal for concrete floors that have minor imperfections or light stains.
The grinding process helps to open up the pores in the concrete and smooth out any rough patches. It also removes old coatings, adhesives, or any surface contaminants that could interfere with the epoxy’s bond.
- Shot Blasting
Shot blasting is another technique used to prepare concrete surfaces, especially for floors that are more heavily worn or have deeper blemishes. In this method, small metal beads are shot at the floor to clean and roughen the surface. The process removes stubborn stains, old coatings, and surface imperfections, making it an ideal choice for larger commercial projects. Unlike diamond grinding, shot blasting produces minimal dust, which can be an advantage for certain environments.
Step 4: Patching Holes and Cracks
Once the concrete surface has been ground or blasted, it’s time to patch any holes, cracks, or surface imperfections. Concrete floors often have minor cracks or holes that must be filled before applying epoxy to avoid compromising the finished look.
There are many products available for patching cracks, such as concrete repair compounds or epoxy fillers. These products are specifically designed to bond well with the concrete surface and can be smoothed over the area with a trowel. After applying the filler, allow it to cure according to the manufacturer’s instructions before proceeding.
Once patched, it’s important to smooth the repaired areas to match the surrounding floor. This step helps prevent unevenness in the final coating and ensures that the epoxy application is uniform.
Step 5: Ensuring Levelness and Flatness
A level and flat surface is essential for achieving a smooth, even epoxy coating. Floors that are uneven or sloped can cause the epoxy to pool in some areas, leading to an unattractive finish. To address this, it may be necessary to level the floor by using self-leveling compounds.
For epoxy floor coating surface preparation, it’s also important to check for any low spots or areas that may have been missed during the grinding or shot blasting process. If you find any areas that need additional attention, use a leveling compound to correct them before continuing.
Ensuring the surface is level and flat is crucial to achieving a flawless finish that not only looks great but also performs well.
Step 6: Final Cleaning and Vacuuming
Before applying the epoxy coating, it’s essential to do a final cleaning to remove any dust or debris left behind from grinding or blasting. Use a vacuum or broom to thoroughly clean the surface one last time. This ensures that the epoxy has a clean surface to adhere to and reduces the risk of imperfections in the finished floor.
If necessary, you can wipe down the surface with a damp cloth or mop to ensure all dust is removed. Make sure the floor is completely dry before proceeding to the application of the epoxy coating.
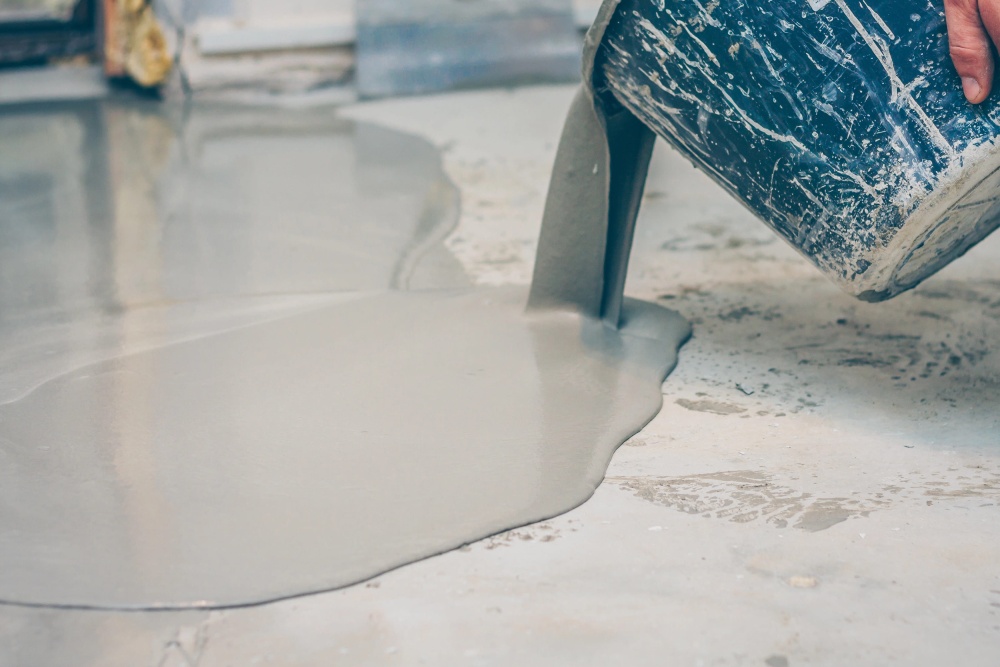
Step 7: Applying the Epoxy Coating
Once the epoxy floor coating surface preparation is complete, it’s time to apply the epoxy coating. The epoxy should be mixed according to the manufacturer’s instructions and applied using a roller or brush. It’s important to apply the coating evenly, making sure to cover all areas, including the edges and corners.
At Guardian Garage Floors, we use high-quality epoxy products designed for durability and ease of application. Our professionals handle the mixing, application, and finishing to ensure a smooth and flawless result.
Get Professional Floor Coating Installation
Proper surface preparation is the foundation of a successful epoxy floor coating. From cleaning and grinding to patching cracks and ensuring levelness, every step must be performed with precision to ensure a long-lasting, durable finish. At Guardian Garage Floors, we handle every step of the floor coating surface preparation to ensure the best results. Our expert installers use advanced techniques and our proprietary Polyaspartic polyurea concrete coating that is 20x stronger than epoxy and 5x more flexible. If you’re looking to transform your garage, basement, or commercial space, our team is ready to help you achieve the perfect finish.
Ready to install an epoxy floor that will last for years? Schedule a consultation today and get started on transforming your space with our professional, high-quality service!